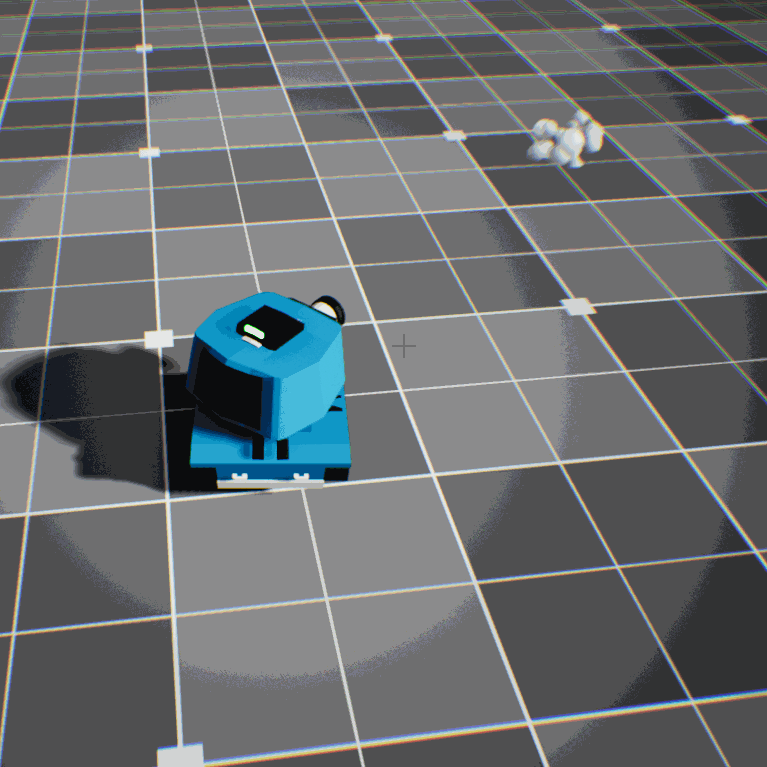
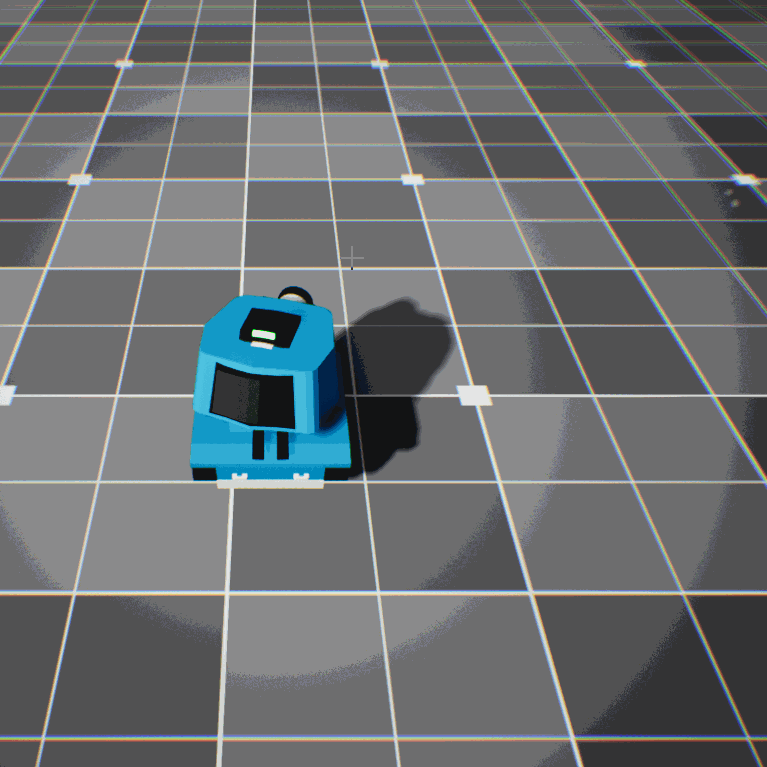
This game is based on a UE intro course from Udemy taught by Gamedev.tv. The game involves the player controlling a tank to destroy enemy towers, which also fire back at the player. I have implemented common functionalities by C++ scripts in the game, such as creating a tank that can move throughout the world, handling input (WASD movement), creating an enemy turret class (enemy), adding fire functionality with projectiles, adding health, damage, and destruction mechanics to the game, incorporating special effects (smoke, explosions, sounds), and adding winning/losing conditions with HUD displays. I will provide a detailed explanation of these implemented features, along with relevant documentation links, the code I used from the course, and editor content.
Implementations
Fire Functionality With Projectiles
Create a fire function to spawn projectiles (actors) and call it in both the player‘s Tank class and the Tower class. Bind it to the fire action mapping so the player can operate it using the left mouse button. In the Tower class, use a timer function to call the fire function every so often when the player is detected within the firing range.
To spawn an object in C++ that is based on a Blueprint, define a projectile variable using TSubclassOf<>. This allows us to set the corresponding projectile Blueprint in both the player and tower Blueprints. It's important to use UClass for the projectile instead of UObject because UClass has built-in functionality that enables reflection between C++ and Blueprints, allowing information to flow between them. Using a raw C++ class won't generate a static mesh in the world, resulting in an invisible actor. More notes about TSubclassOf<>.
Add UE built-in UProjectileMovementComponent to projectile class, and this handles the movement for the projectile object. We can customize the movement by setting parameters on this component.
Hit Events are implemented using multicast delegates for detecting when a projectile hits an object. This was achieved by creating a function called OnHit and binding it to the OnComponentHit delegate. The projectile's mesh, which inherits from the UPrimitiveComponent class, uses this delegate. When the projectile hits any component, the OnHit function is called, allowing other tasks to be executed, such as destroying the projectile.
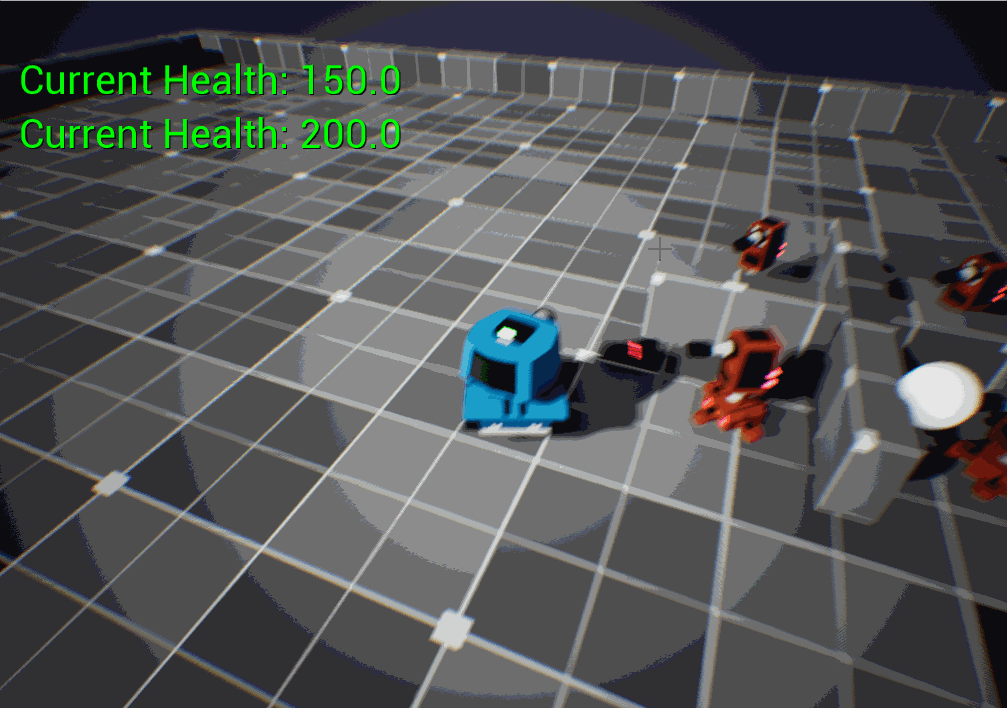
Health, Damage And Destruction
Create a Health component, make it attached to both player and turrent objects. Write DamageTaken in HealthComponet cpp file, and bound this tunction to the pawns' delegates (OnTakeAnyDamage).
Use generic function ApplyDamage to broadcast damage event, so it can trigger the functions bound to OnTakeAnyDamage delegate. We generate damage event when projectile hits actors, so ApplyDamge is called in projectile.cpp.
Create a GameModeBase class called ToonTanksGameMode, and then create a HandleDestruction function in the BasePawn class, which doesn’t require any parameters. The HandleDestruction function will handle special effects like sounds and visual effects for damage events. After that, create an ActorDied function in the GameModeBase class, and use it to call the HandleDestruction function. Call the ActorDied function when the health reaches 0 in HealthComponent.cpp. To access the ActorDied function from the GameModeBase class, use GetGameMode to retrieve the ToonTanksGameMode object in HealthComponent.cpp.
Make a custom player controller class, then access the PlayerController to disable user input and disable showing the mouse cursor when player tank is dead. Create a blueprint based on this player controller to set the mouse cursor type.
Timer & HUD Displays(Win/Lose)
Create a HandleGameStart() for the ToonTankGameMode class and call it in BeginPlay(). This allows the Game Mode to determine when the game starts, and the player will not be allowed to move until the countdown timer finishes. Then in HandleGameStart(), set a timer using FTimerDelegate, binding SetPlayerEnabledState() from the player controller to it. This allows us to have a function callback for the timer that takes input parameters.
In ToonTankGameMode.h, create a function called StartGame() and mark this with blueprint implementable event macro, and we don’t need to give it a function body in c++ because that UE expects us to implement the functionality for this on the blueprint side. But we can call it from c++ and the event in the blueprint will bed fired off. Call StartGame() in HandleGameStart() just after we get the player pawn and player controller. For adding logic that we connect to StartGame() event, create a widget blueprint called StartGame in Editor. Widget is good for displaying text on the screen. After setting text in StartGame widget, add this to the viewport, so the player can see.
Since in the C++ script we've already created a PlayerEnableTimerHandle to manage the start timer, we need to create a timer blueprint for the HUD display, which is entirely different and independent from the C++ side. In the StartGame widget blueprint we just created, add a countdown float variable. Every frame of the game, subtract the countdown float by Delta time, which is the amount of time passed since the previous frame. This way, the countdown float will constantly decrement, giving us a running countdown. Use the Ceil node to round the countdown's decimal value, and then use the Switch node to pass the rounded countdown value. The Switch node has multiple execution lines, and it will only execute one based on the input. We can use this to control the HUD display numbers or prompt messages. Mark the display text in StartGame widget as “Is Variable”, so we can access this in its event graph. Let the switch do the execution of what to display in the display text.
Use the same method to write the GameOver blueprint implementable event. After the player destroys all the towers or is killed by a tower, use widgets to display whether the player won or lost. Except, GameOver has a bWonGame parameter. For the lost condition, call the GameOver function if the dead actor is the tank. For the won condition, call it if the dead actor is a tower and when the number of towers in the world reaches 0. To achieve this, create a function that can find out how many towers are in the world and return that number, this called GetTargetTowerCount(). In this function, use GetAllActorsOfClass to find all actors in the world of the Tower class. It returns a pointer to a TArray that contains all actors of the Tower class.

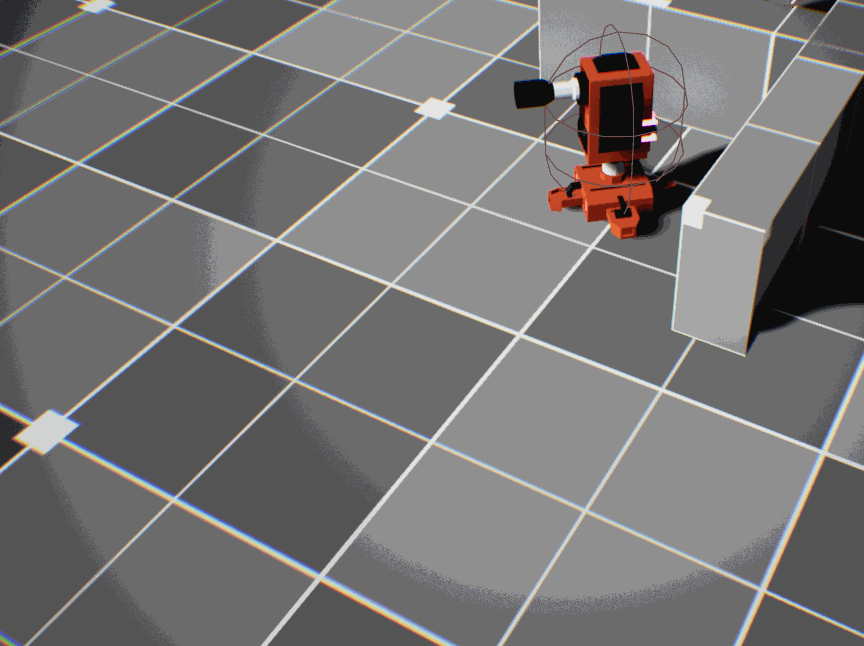
Special Effects (Smoke, Explosions, Sounds, Camera shake)
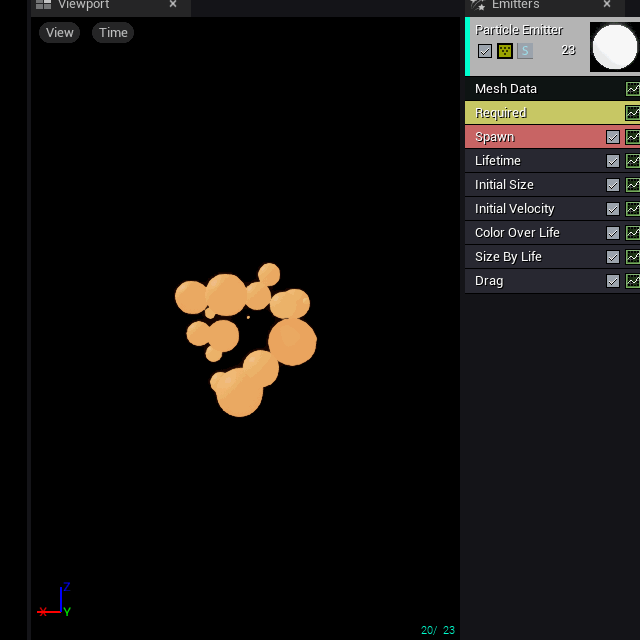
There are special effects for when the projectile hits something. This is going to involve something called a particle system. The HitEffect asset is already provided in the course content. Create a UParticleSystem variable called HitParticles in Projectile.cpp and mark this variable EditAnywhere. Open Projectile blueprint, set up the corresponding HitEffect particle system asset. Inside the Projectile.cpp, if HitParticles is valid, then call SpawnEmitterAtLocation function to play HitParticles in OnHit function. Make sure to spawn the emitter with the same rotation as the projectile actor. Place the function just before destroying the projectile actor.
After setting up hit particles, we need another particle system to follow behind the projectile as it flies throughout the world. To archeive this, add a particle system component to the projectile class. (For the hit particles, we use the spawn emitter, which dynamically creates the particles for us at runtime in the OnHit function. But for a smoke trail, we use a particle system component (UParticleSystemComponent)). Create it in the projectile’s constructor using CreateDefaultSubobject. Once the particle system component is created, attach it to the root of the projectile. Then, set the Template value with the appropriate trail effect asset in the projectile blueprint.
The final step for visual effects is creating the death particle effects. Add a new particle system pointer called DeathParticles to the BasePawn class, as we want the explosion to happen when either the tank or the tower gets destroyed. Make sure the particle system pointer is exposed with UPROPERTY and set to be editable. Next, in the HandleDestruction function of the BasePawn class, call SpawnEmitterAtLocation with GetActorLocation() and GetActorRotation() as parameters. This ensures that the explosion’s position and direction match the destroyed actor. Lastly, set the corresponding P_DeathEffect particle system in the blueprints for both the pawn and the turret enemy.
For sound effects in the game, we need to play sounds when firing a projectile, when it hits something, and when a pawn dies. In Projectile.cpp, use USoundBase class variables called LaunchSound and HitSound exposing them to blueprints with EditAnywhere macro. Still in the Projectile class, call the PlaySoundAtLocation function in the OnHit function with the HitSound variable right before destroying the projectile. Do this in the if condition to ensure the other actor is valid and not "this" or the owner. Call PlaySoundAtLocation again with the LaunchSound variable in the BeginPlay function to play sound when the projectile is spawned. Next, go into the BasePawn class and call PlaySoundAtLocation with DeathSound variable in the HandleDestruction function for explosion effect. Finally, set up the assets in the Projectile, PawnTank (player), and PawnTurret (enemy) blueprints using the corresponding sound assets from the sounds folder.
To add another finishing touch to the game that makes it feel a bit more professional, we need to shake the camera when the projectile hits somethings or when a pawn dies. To achieve this, create a new blueprint class from the UE built-in LegacyCameraShakeclass for camera shaking, as it allows easy adjustment of shake variables. Name this class BP_HitCameraShake. In BP_HitCameraShake, modify only the location oscillation parameters in the oscillation section, and set the wave type to Sine Wave for smooth, back-and-forth camera movement, creating an oscillating effect. Create another camera shake for when the pawn dies and name its BP_DeathCameraShake. It is more violent than BP_HitCameraShake. For the C++ implementation, we need to create camera shake variables using the TSubclassOf wrapper to define a UCameraShakeBase pointer called HitCameraShakeClass. In Projectile.cpp, call ClientStartCameraShake in the OnHit function when another actor is hit. Additionally, call ClientStartCameraShake in BasePawn.cpp's HandleDestruction function. Lastly, set up BP_HitCameraShake in the Projectile blueprint, and BP_DeathCameraShakeClass in the BasePawn and PawnTurret blueprints.
Polish: In P_PawnTank, set the camera lag so that the camera lags behind and smoothly catches up, making the visuals feel more "juicy." There is still a lot to explore regarding camera movement, and I may write other articles on this topic in the future.